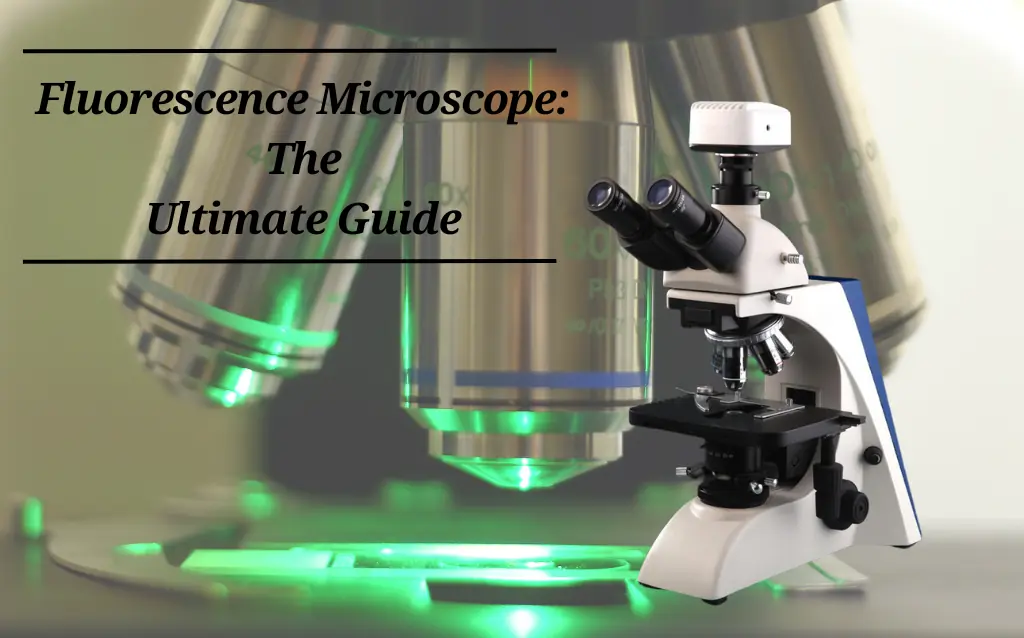
Introduction: Illuminating the Invisible
Fluorescence microscopy has revolutionized the way we observe microscopic structures, revealing biological and material details that conventional optical microscopes cannot detect. The fluorescence microscope utilizes the principle of fluorescence to produce high-contrast, specific images by exciting fluorophores within samples. With over a century of scientific development, this powerful imaging tool is now essential in fields such as genomics, proteomics, diagnostics, and materials science.
What is Fluorescence Microscopy?
Fluorescence microscopy is an optical imaging technique that uses short-wavelength light (typically UV or blue) to excite fluorophores—molecules that emit light at a longer wavelength when energized. This emission produces a bright signal on a dark background, revealing details often undetectable with traditional brightfield microscopy.
This method is especially powerful when analyzing specific structures within cells, tissues, or synthetic materials, thanks to its ability to tag targets with fluorescent dyes or proteins.
Principle of Fluorescence Microscope
The fundamental working principle of a fluorescence microscope involves:
Excitation: A light source emits high-energy light filtered through an excitation filter.
Reflection: The light is reflected by a dichroic mirror toward the specimen.
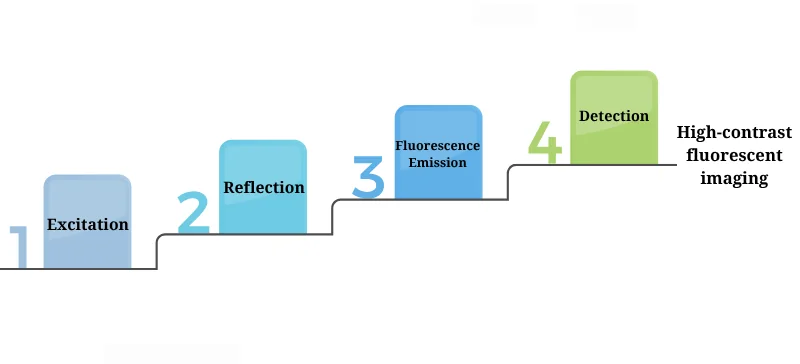
Fluorescence Emission: Fluorophores in the sample absorb the excitation light and emit lower-energy (longer wavelength) fluorescence.
Detection: Emitted light passes through an emission filter and reaches a detector (eye, camera, or sensor).
This selective imaging process allows only the fluorescent signal to be observed, ensuring high contrast and specificity.
Key Components of a Fluorescence Microscope
Excitation Light Source: Mercury lamps, xenon lamps, LEDs, or lasers
Excitation Filter: Selects the wavelength that excites the fluorophore
Dichroic Mirror: Reflects excitation light while transmitting emitted fluorescence
Objective Lens: Focuses excitation light and collects emitted light
Emission Filter: Removes any residual excitation light
Detector: Eye, digital camera, or CCD sensor for capturing the image
Sample Stage: Holds and adjusts the sample along X, Y, Z axes
Types of Fluorescence Microscopes
1. Widefield Epifluorescence Microscope
Illuminates the entire sample.
Good for multi-color imaging.
Limited optical sectioning due to out-of-focus light.
2. Confocal Fluorescence Microscope
Employs laser beams and pinholes to reject out-of-focus light.
Enables optical sectioning and 3D reconstruction.
Available in laser-scanning, spinning disk, or programmable array (PAM) formats.
3. Multiphoton (Two-Photon) Microscope
Uses two or more low-energy infrared photons for excitation.
Reduces photodamage and penetrates deeper into thick tissues.
Ideal for live-cell and in vivo imaging.
4. TIRF (Total Internal Reflection Fluorescence) Microscope
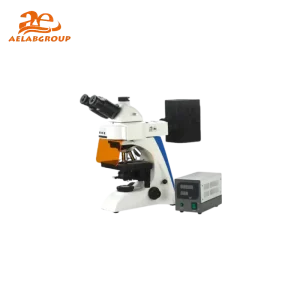
Fluorescence Microscope AE-BK102TR
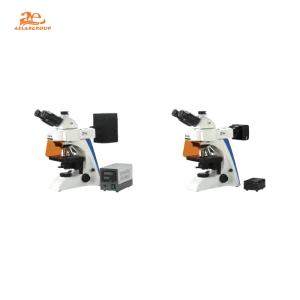
Fluorescence Microscope AE-BK102 Series
Operating Procedure & Imaging Tips
Sample Prep: Clean slides, coverslips, and ensure proper fluorophore selection.
System Calibration: Align filters, check lamp alignment, and clean lenses.
Light Adjustment: Use ND filters and reduce aperture size to minimize bleaching.
Focusing: Begin with low magnification and gradually increase.
Image Capture: Use high-sensitivity sensors (e.g., CCD) and adjust exposure time appropriately.
Post-Imaging: Save files with structured naming for easy retrieval and analysis.
Tip: Use vibration-isolation tables for sharp imaging, especially at high magnifications.
Applications of Fluorescence Microscopy
Biomedical Research
Clinical Diagnostics
Immunofluorescence for autoimmune diseases
Pathogen detection (e.g., TB, malaria)
Cancer biomarker identification
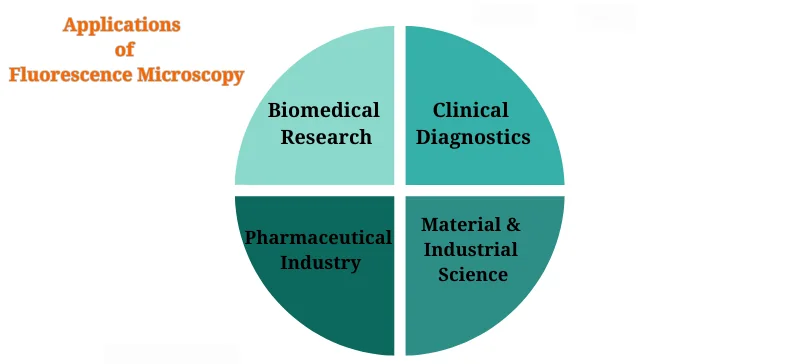
Pharmaceutical Industry
Material & Industrial Science
Polymer and nanomaterial visualization
Semiconductor inspection
3D analysis of textiles, ceramics, and food samples
Advantages of the Fluorescence Microscope
High Sensitivity: Detects even single molecules.
Live Imaging: Real-time observation of biological processes.
Multiplexing: Simultaneous imaging of multiple targets.
Minimal Sample Prep: Compared to electron microscopy.
Limitations
Photobleaching: Fluorophores can degrade under intense or prolonged light.
High Cost: Especially for confocal or multiphoton systems.
Artifacts: Background fluorescence may interfere with data quality.
Sample Toxicity: Some dyes may alter biological function.
Safety and Maintenance Best Practices
Avoid direct exposure to UV light.
Clean oil-immersion lenses after each use.
Let mercury lamps cool before restarting.
Use light-blocking shields and voltage stabilizers.
Turn off excitation light when not imaging to prevent photodamage.
Conclusion: See What Others Can't
Fluorescence microscopy is more than just a visualization tool—it’s a scientific gateway to understanding cellular function, disease progression, material composition, and molecular behavior. As innovations in digital imaging, optics, and fluorophore chemistry continue to evolve, so too does the capability and impact of fluorescence microscopy.
Whether you’re conducting fundamental biological research or developing next-generation materials, mastering the principles and best practices of fluorescence microscopy will elevate your scientific discovery.
Ready to illuminate your next breakthrough? Explore AELAB’s complete range of fluorescence microscopes and imaging solutions designed for cutting-edge research and diagnostics.


")
")
")
")
")