

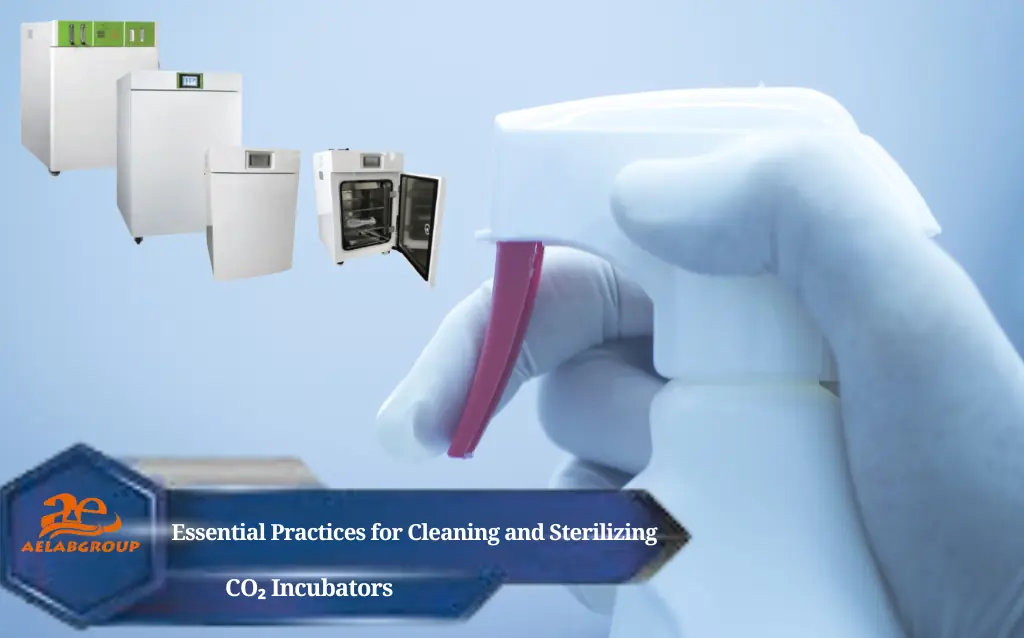
Introduction
CO₂ incubators are indispensable in laboratories conducting cell culture, microbiology, and tissue engineering research. These devices create a stable, controlled environment—typically at 37°C and 5% CO₂—to support optimal cell growth. However, the same warm and humid conditions also make them highly susceptible to microbial contamination. Regular cleaning and sterilization are crucial to prevent contamination, maintain data integrity, and extend the lifespan of the equipment.
Why Cleaning and Sterilization Matter
Prevents microbial contamination and biofilm formation
Maintains experimental accuracy by preserving environmental consistency
Ensures compliance with GLP and laboratory safety standards
Protects sensors and internal components from dust and residue buildup
Prolongs the operational life of the incubator
Cleaning vs. Sterilization: Key Differences
Cleaning is the physical removal of dirt, debris, and organic material.
Sterilization involves the destruction of all microorganisms, including spores.
Note: Sterilization is only effective after thorough cleaning. Residual organic matter can reduce the efficacy of disinfectants and heat-based methods.

Step-by-Step Cleaning Protocol for a CO₂ Incubator
1. Preparation
Power off and unplug the incubator from the electrical outlet and CO₂ supply.
Remove all cultures and relocate them to a sterile backup incubator.
Wear appropriate PPE: gloves, lab coat, and safety goggles.
2. Removing Internal Components
Carefully take out all shelves, trays, water pans, access port plugs, and duct covers.
Check if the components are autoclavable for later sterilization.
3. Cleaning the Exterior
Wipe down external surfaces with a cloth soaked in mild detergent.
Avoid abrasive cleaners or solvents that can damage finishes or labels.
Dry surfaces using a soft, lint-free cloth.
4. Cleaning the Interior
Use a lint-free cloth dampened with 70% ethanol or a mild detergent.
Gently clean around sensors—do not spray liquids directly onto them.
Pay special attention to the door gasket, ensuring it is clean, dry, and properly seated.
5. Sterilizing Removable Parts
Wash removable components in warm water and a non-corrosive detergent.
Autoclave them if the materials are rated for high temperatures.
Ensure all parts are completely dry before reinstallation to prevent mold or bacteria growth.

Disinfection and Sterilization Methods
1. Chemical Disinfection
Use non-corrosive agents such as 70% ethanol, quaternary ammonium compounds (e.g., Fermacidal-D).
Avoid chlorine-based disinfectants due to their corrosive nature on stainless steel and copper.
Apply to all interior surfaces, including corners and seams.
2. Ultraviolet (UV) Disinfection
Utilize built-in UV lamps after manual cleaning for air and surface sterilization.
Ensure the UV light covers all interior zones evenly.
Use as a complementary method—not a substitute for physical cleaning.
3. High-Temperature Sterilization
If available, run built-in dry heat sterilization cycles (commonly 120–180°C).
A complete cycle may take 6–8 hours, including heat-up, hold, and cool-down phases.
Ideal for periodic deep sterilization, particularly after contamination events.
Restart and Post-Cleaning Checklist
Reassemble shelves, trays, and water pans.
Fill the humidity pan with fresh sterile distilled water (avoid tap, RO, or deionized water).
Leave the incubator door open to allow interior surfaces to air dry fully and ethanol vapors to dissipate.
Power the unit on and wait several hours for stabilization.
Recalibrate sensors and verify all environmental parameters.
Recommended Maintenance Schedule
| Frequency | Task |
|---|---|
| Daily | Check for spills, wipe exterior, verify water levels |
| Weekly | Empty, clean, and disinfect water pan |
| Monthly | Full internal cleaning, sensor inspection, filter checks |
| Annually | Preventive service, component replacement, full calibration |
Best Practices to Prevent Contamination
Keep door openings brief and infrequent
Use sterile gloves and handle materials in a biosafety cabinet
Never store cardboard or paper products inside or on top of the incubator
Use only pre-sterilized culture vessels
Consider adding commercial antimicrobial agents (e.g., AquaGuard-1, SigmaClean) to the water pan

Water Quality Recommendations
Always use sterile distilled water with:
pH: 7–9
Conductivity: 1–20 μS/cm
Avoid tap water (may contain chlorine and minerals) and deionized/ultrapure water (too aggressive for stainless steel). Poor water quality can lead to corrosion and contamination.
Choosing a Maintenance-Friendly CO₂ Incubator
Some features simplify cleaning and improve reliability:
Copper-enriched stainless steel interiors (e.g., inCu-saFe®)
UV disinfection systems for air and water
Integrated shelf supports to reduce removable parts
Dual IR CO₂ sensors for high-accuracy and humidity resistance
Conclusion
Thorough cleaning and proper sterilization of a CO₂ incubator are essential to preserving a contamination-free environment and ensuring the reproducibility of scientific experiments. Adhering to a consistent cleaning schedule, using the correct materials, and investing in user-friendly equipment can significantly enhance laboratory efficiency and data reliability.