

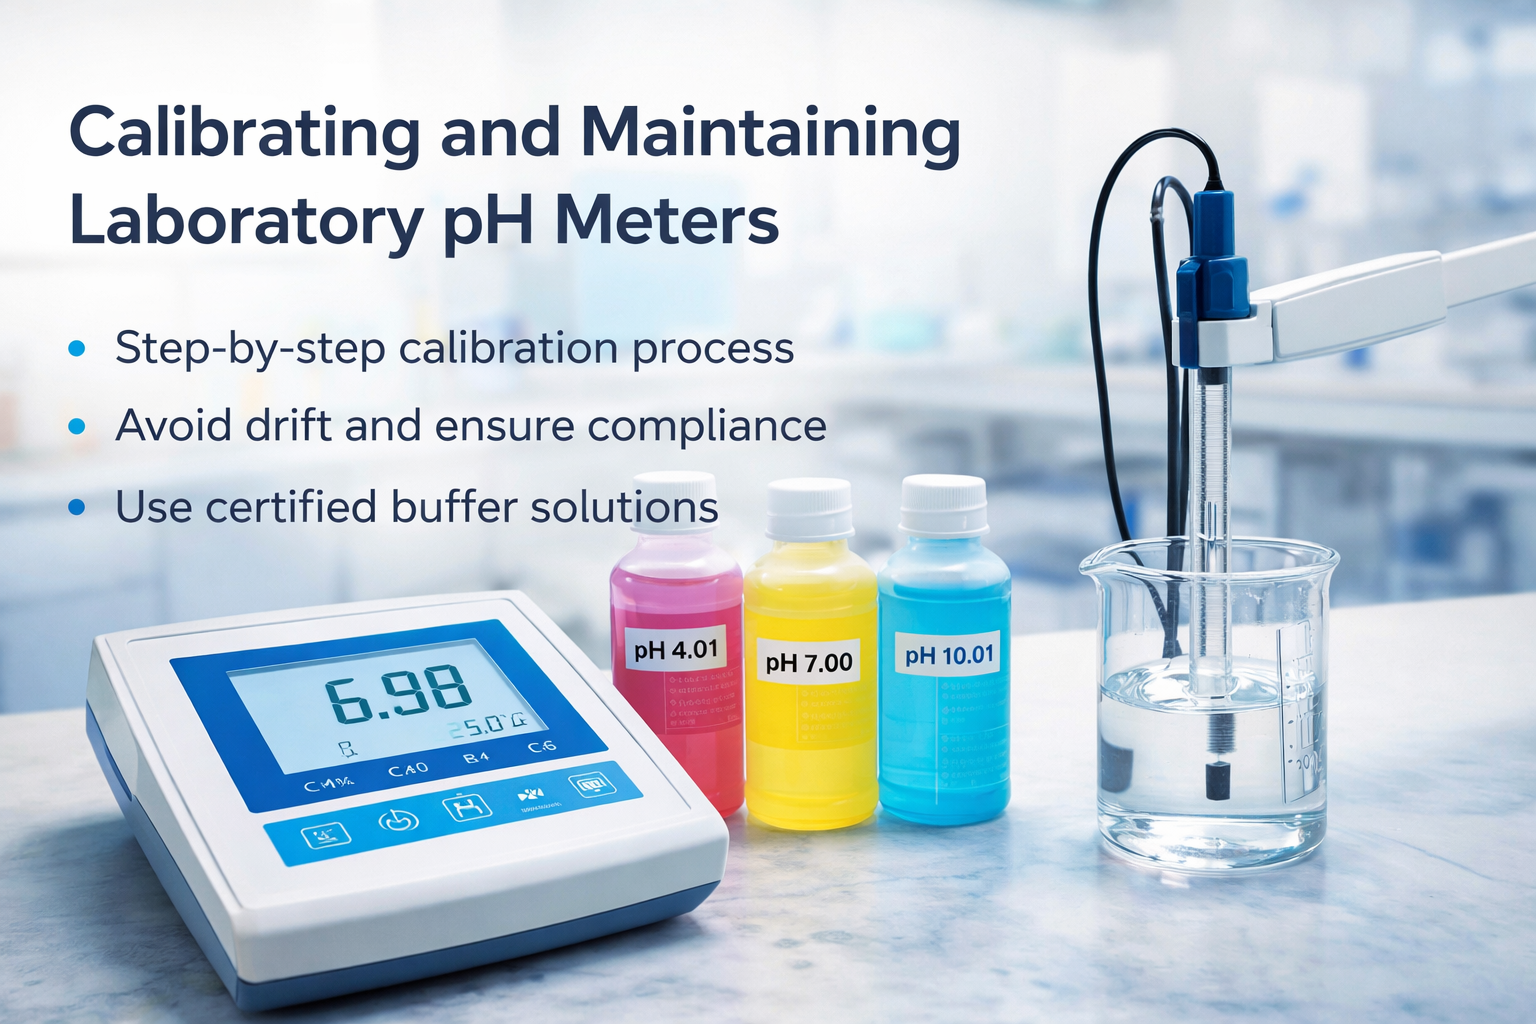
The Critical Role of Buffer Solutions in pH Calibration Accuracy
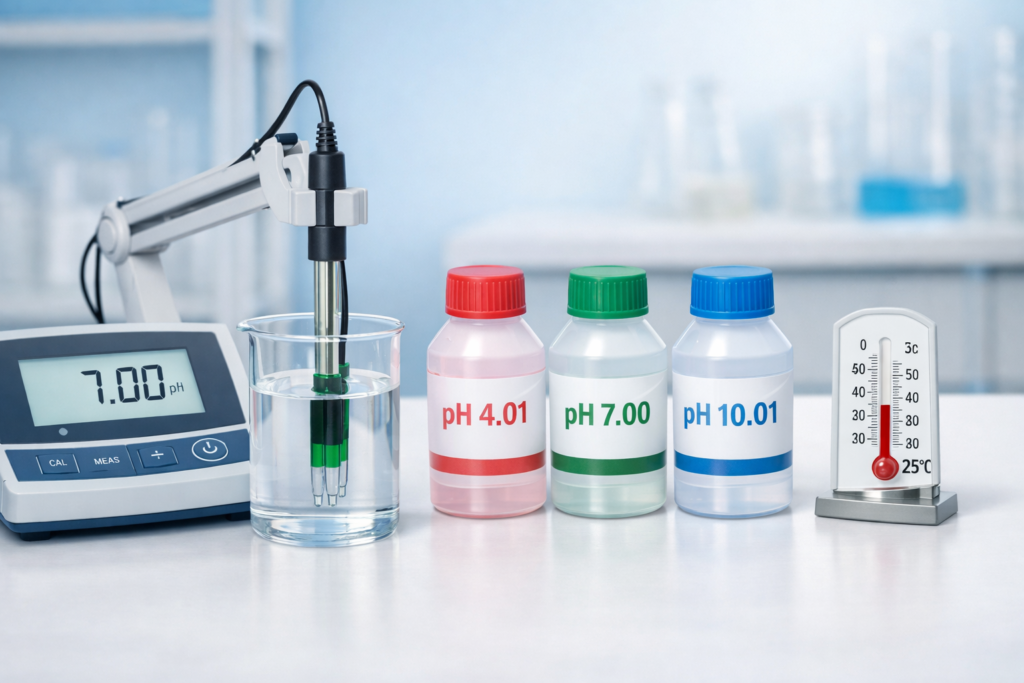
Buffer solutions are the cornerstone of pH meter calibration; their quality and handling directly impact measurement accuracy. Using certified, fresh buffers at the correct temperature—typically 25°C—ensures traceable results. In regulated labs, this step is non-negotiable for compliance.
Operator Note: Always verify buffer temperature before calibration. A 5°C difference can shift pH values by up to 0.1 units, leading to systematic errors in sample readings.
Executing a Precise Calibration Workflow: Steps You Can Trust
Follow this step-by-step workflow to calibrate your pH meter with confidence, minimizing operator-induced variability.
Pre-Calibration Checks
Power on the meter and allow 15-30 minutes for stabilization. Inspect the electrode for cracks or dryness, and clean it if necessary with a mild detergent or manufacturer-recommended solution.
Operator Note: Check the electrode slope after calibration; a value between 95-105% indicates healthy performance. Below 90% often signals aging or contamination needing attention.
Calibration Procedure for Optimal Accuracy
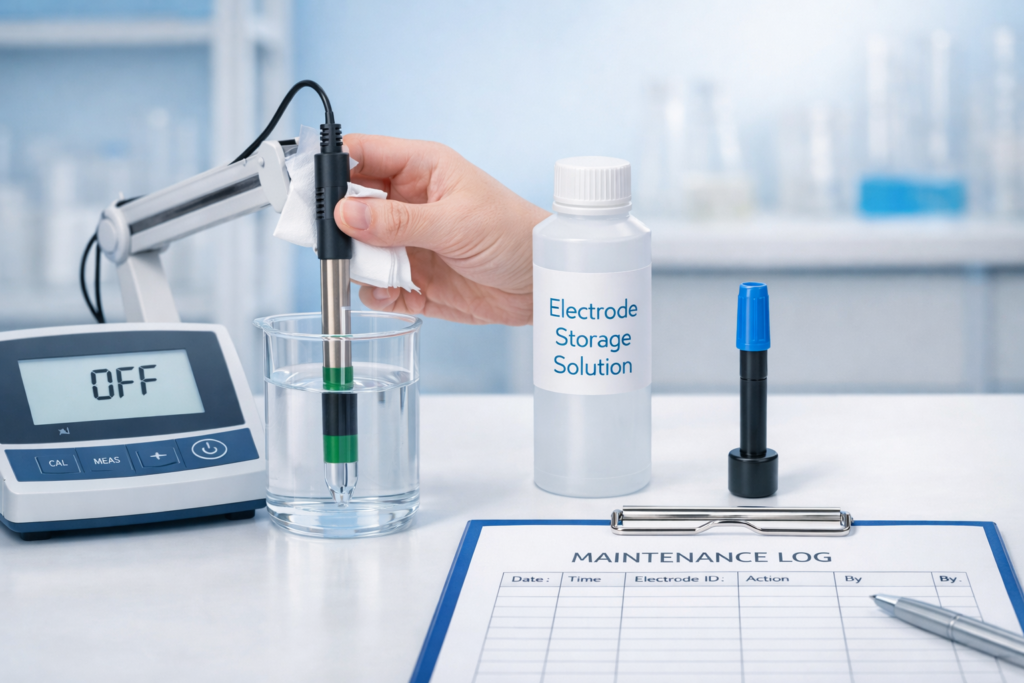
- Rinse the electrode thoroughly with deionized water and blot dry with a lint-free tissue—avoid wiping, which can generate static charge.
- Immerse in the first buffer (e.g., pH 7.00) and stir gently. Wait for the reading to stabilize (usually 1-2 minutes), then initiate calibration.
- Repeat with a second buffer (e.g., pH 4.01 for acidic samples or 10.01 for alkaline), ensuring it brackets your expected sample range.
- For high-accuracy needs, use a third buffer to verify the calibration curve.
Operator Note: After calibration, measure a known buffer as a quality check. If the reading deviates by >0.05 pH units, re-calibrate or investigate electrode issues.
Routine Maintenance to Sustain pH Meter Performance
Regular maintenance prevents costly downtime and ensures long-term accuracy. Focus on electrode care, storage, and periodic verification.
- Storage: Always store electrodes in a recommended storage solution—never in deionized water, which causes dehydration and slow response.
- Cleaning: For proteinaceous or oily samples, clean with pepsin or mild solvent solutions to avoid reference junction clogging.
- Performance Checks: Monthly, perform a two-point calibration and record slope values to track electrode aging trends.
Operator Note: When not in use, cap the electrode to prevent evaporation and contamination from airborne particles, a frequent oversight in busy labs.
Troubleshooting Common pH Meter Issues: From Symptoms to Solutions
Use this guide to diagnose and resolve frequent problems, based on root causes observed in labs.
- Symptom: Erratic or jumping readings. Likely Cause: Dirty or damaged electrode bulb. Why: Contaminants create unstable potential. Corrective Action: Clean with appropriate solution or replace electrode. Prevention Tip: Implement regular cleaning after measuring complex matrices.
- Symptom: Slow response time (>2 minutes). Likely Cause: Clogged reference junction or dehydrated gel. Why: Reduced ion flow impedes equilibrium. Corrective Action: Soak in KCl solution or use rejuvenation kits. Prevention Tip: Store properly and avoid samples with high solids.
- Symptom: Calibration failure or error messages. Likely Cause: Expired or contaminated buffers. Why: Buffer pH drifts over time. Corrective Action: Use fresh, certified buffers. Prevention Tip: Label buffers with opening dates and discard after one month.
- Symptom: Drift during measurements. Likely Cause: Temperature fluctuations or electrode aging. Why: Thermal effects alter electrode potential. Corrective Action: Enable automatic temperature compensation (ATC) or recalibrate. Prevention Tip: Calibrate with buffers at sample temperature for critical work.
- Symptom: Inaccurate readings in specific samples. Likely Cause: Matrix interference (e.g., high ionic strength). Why: Sample composition affects ion activity. Corrective Action: Use matrix-matched standards or confirm with titrimetry. Prevention Tip: Validate methods for each sample type during method development.
- Symptom: No reading or display error. Likely Cause: Loose connections or depleted battery. Why: Poor electrical contact disrupts signal. Corrective Action: Check cables and power source. Prevention Tip: Perform pre-use checks as part of daily startup.
Hidden Pitfalls and Common Mistakes in pH Measurement
Avoid these realistic errors that compromise accuracy, drawn from lab observations.
- Using buffers at incorrect temperature without compensation—this introduces bias, especially in environmental labs with variable room temps.
- Not allowing sufficient stabilization time—rushing readings leads to false values; wait for steady numbers.
- Storing electrodes dry or in tap water—causes irreversible damage and slow response.
- Neglecting to recalibrate after electrode replacement or maintenance—assumes consistency, but new electrodes may have different characteristics.
- Measuring viscous samples without proper agitation—creates inhomogeneity and inaccurate pH readings.
- Overlooking routine performance qualification—in regulated labs, skipping PQ can lead to compliance failures during audits.
- Trusting ATC blindly without sample equilibration—ATC corrects for temperature but not for sample thermal lag, a nuance in research settings.
- Using the same calibration logic for all sample types—e.g., calibrating with pH 7 and 4 for alkaline samples misses range coverage.
Operator Note: Always cross-check pH readings with a second method or meter when dealing with critical release testing, as electrode failures can be subtle.
Limitations and Trade-Offs in pH Meter Use
pH meters have inherent limitations: they perform poorly in non-aqueous or low-ionicity samples due to reduced conductivity, and accuracy can degrade with electrode age. Trade-offs include manual vs. automatic calibration—manual offers more control for method development, while automatic speeds up routine QC but may mask issues. In high-throughput labs, speed often trumps ultra-high accuracy, but for research, precision is key. When pH readings seem off, confirm with titration or ISE methods, especially for complex matrices.
Frequently Asked Questions on pH Meter Calibration and Maintenance
Q: How often should I calibrate my pH meter?
A: Calibrate daily for routine use, before each batch for critical measurements, or after any maintenance event. In regulated environments, follow SOP-defined frequencies.
Q: What buffers are essential for calibration?
A: Use at least two buffers bracketing your sample pH—commonly pH 4.01, 7.00, and 10.01. Always use certified buffers for traceability.
Q: Can I use tap water to rinse the electrode?
A: No, use deionized or distilled water to prevent contamination from minerals that alter readings.
Q: How do I know when to replace the electrode?
A: Replace if slope values consistently fall below 90%, response time exceeds 5 minutes, or physical damage is evident.
Q: Is automatic temperature compensation sufficient for all samples?
A: ATC helps, but for samples with high thermal mass, allow equilibration to room temperature to avoid errors.
Conclusion: Implementing Best Practices in Your Lab
To ensure measurement accuracy, establish a robust calibration and maintenance schedule tailored to your lab’s needs—whether it’s routine QC, GMP compliance, or research. Document all steps, train operators on pitfalls, and consider periodic support from specialists like AELAB for calibration services or method validation assistance. Do this next: Review your current pH meter SOPs against the mistakes listed here, and update them to include buffer handling and electrode storage protocols.