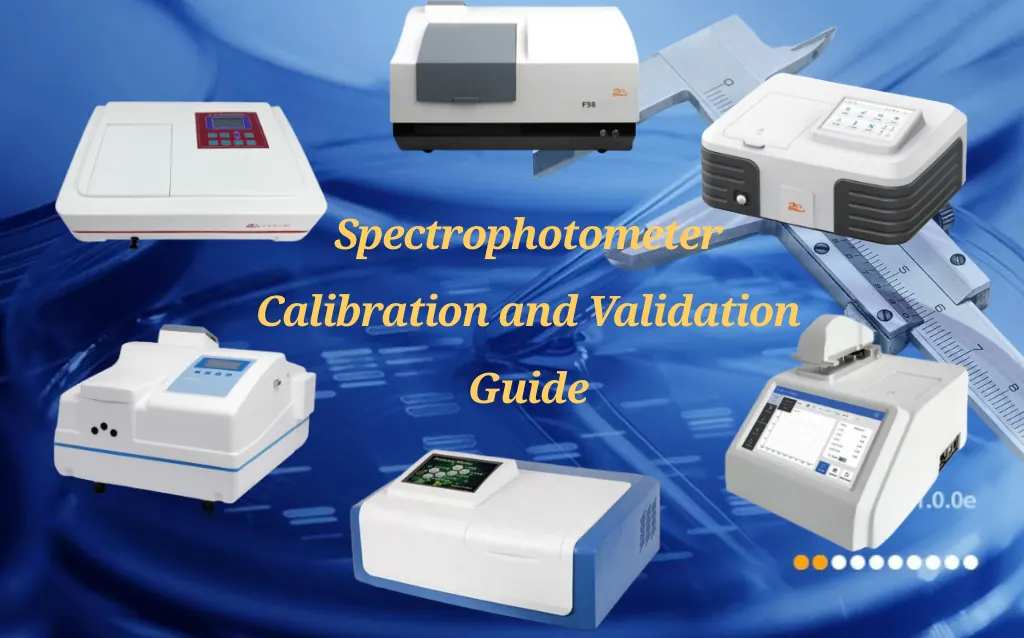
Introduction
Accurate spectrophotometric data underpins reliable results across chemistry, biology, environmental testing, coatings, and quality-control laboratories. Proper spectrophotometer calibration and validation keep instruments within specification, make results comparable across time and labs, and reduce costly measurement errors. This guide explains what to check, how to perform essential calibrations, validation best practices, troubleshooting tips, and the benefits of a formal maintenance program.
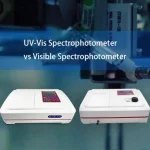
Why is spectrophotometer calibration important?
Regular spectrophotometer calibration and validation are essential for obtaining trustworthy and accurate analytical results. Here are the key reasons why consistent calibration matters:
Ensure accuracy: Calibration ties instrument readings to known reference values so absorbance or reflectance numbers are correct.
Enable traceability: Using NIST-traceable or equivalent standards creates an audit trail and allows cross-lab comparison.
Control quality and reduce errors: Routine checks detect instrument drift, lamp aging, and contamination before they bias results.
Meet regulatory and accreditation requirements: ISO standards and many quality systems require documented calibration and periodic validation.
Protect business outcomes: Small measurement shifts can cause product rework, false rejections, or failed audits — calibration prevents those risks.
Core calibration checks (how to calibrate a spectrophotometer?)
A complete spectrophotometer calibration process covers multiple instrument functions to ensure accurate and consistent performance. Below are the common verifications most labs perform.
1. Warm-up and Baseline (Blanking)
Turn on the instrument and allow it to warm up for 30–60 minutes to stabilize the lamp and electronics.
Use a neutral material (such as the appropriate solvent or the instrument’s white reference tile) to set the zero/baseline, so that background light is removed and only the actual sample is measured.
2. Photometric Accuracy
To verify that absorbance or reflectance readings are correct, use NIST-traceable filters or certified reference standards.
Compare the measured values to the reference values. Deviations should be within the manufacturer’s specified limits or laboratory method requirements.
3. Wavelength Accuracy
4. Stray Light and Baseline Correction
Stray light is light that deviates from the intended optical path and can cause errors at high absorbances.
Use special filters to check for stray light. If unwanted signals are detected, the instrument may need servicing.
5. Routine Maintenance and Tile Care
Clean white reference tiles and optical traps gently with a lint-free cloth.
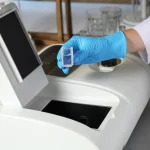
When handling standards, wear powder-free gloves to avoid fingerprints or oils on the surfaces.
Replace lamps and worn components according to the manufacturer’s recommendations.
Validation: verifying instrument performance and data integrity
Purpose: Calibration sets the reference. Validation makes sure the instrument works correctly under normal conditions.
1. Performance Verification and Reproducibility
Linearity: Make sure the instrument’s response is proportional across the measurement range by testing multiple concentrations or filter steps.
Precision / Repeatability: Measure the same standard several times to see if the results are consistent.
Accuracy: Compare the instrument’s readings to certified reference standards across the range.
2. System Suitability and Method Checks
Before important experiments (e.g., manufacturing QC), run system suitability tests to confirm the instrument and method give reliable results.
When starting new methods or making major changes, validate the method for linearity, range, detection limits, precision, and accuracy.
3. Data Integrity Verification
Make sure data storage, software logs, and audit trails meet lab rules and regulations.
Keep records of calibration certificates, last calibration dates, and any out-of-spec events.
Spectrophotometer calibration schedule and required equipment
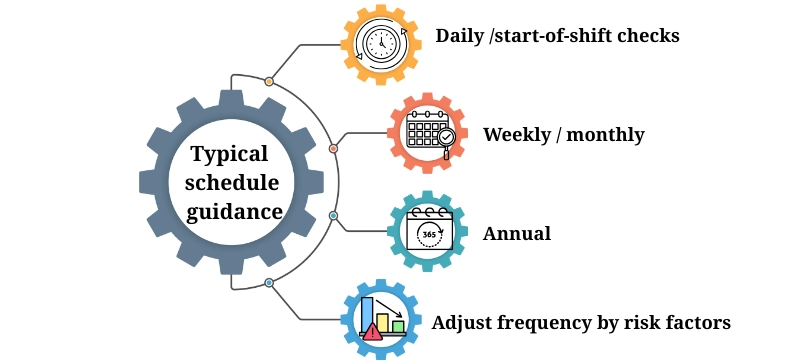
Typical schedule guidance
Daily / start-of-shift checks: quick tile or blank verification for high-use production instruments.
Weekly / monthly: full photometric and wavelength checks depending on usage and environment.
Annual: factory or accredited laboratory certification (ISO/IEC 17025) for traceability and formal documentation.
Adjust frequency by risk factors: heavy use, harsh environments, critical tolerance requirements, or regulatory mandates.
Essential items
Manufacturer’s operation manual and tolerances.
NIST-traceable calibration standards and certificates.
Lint-free wipes, powder-free gloves.
Environmental controls where possible (temperature/humidity stable area).
Common calibration failures and troubleshooting
If a spectrophotometer calibration check fails, follow a logical troubleshooting sequence to identify and correct the issue.
Confirm standards: check certificate dates and stated uncertainty; ensure standards are clean and undamaged.
Verify warm-up/time: ensure adequate lamp warm-up and stable ambient conditions.
Clean optics and tiles: dust, smudges or fingerprints often cause photometric drift.
Cross-test the standard: test the calibration standard on a second instrument if available.
Check tolerances: compare measured deviation with combined tolerances (instrument spec + standard uncertainty).
Escalate to service: persistent wavelength errors or high stray light often indicate alignment or optical component faults requiring manufacturer or accredited service.
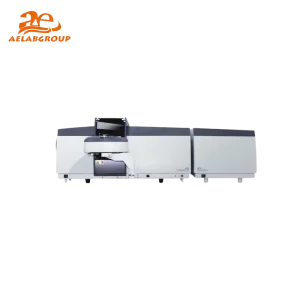
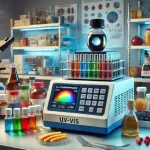
Double Beam UV Visible Spectrophotometer AE-SP7000 Series
Long-term maintenance and quality systems
Keep a calibration log documenting dates, standards used, measured values, and corrective actions.
Consider fleet management solutions (cloud-based monitoring or vendor systems) for multi-instrument harmonization.
For regulatory compliance or customer requirements, schedule periodic accredited certification and retain certificates for audits (ISO/IEC 17025 or equivalent).
Train users on proper handling, blanking procedures, and when to escalate measurement problems.
Conclusion
Calibration ensures your spectrophotometer’s readings are accurate and traceable; validation confirms the instrument behaves reliably under real-world conditions. Together they reduce measurement risk, improve reproducibility, and support compliance. Implement routine warm-up and blanking, verify photometric and wavelength accuracy with NIST-traceable standards, monitor for stray light, and maintain a documented schedule tied to instrument use and risk.
Call to action (CTA):Review your current calibration schedule today — if you don’t have one, start with a daily verification and plan for an annual accredited check. For expert guidance and reliable resources, refer to AELAB’s recommendations to develop a workflow that ensures consistent instrument performance.


")
")
")
")