

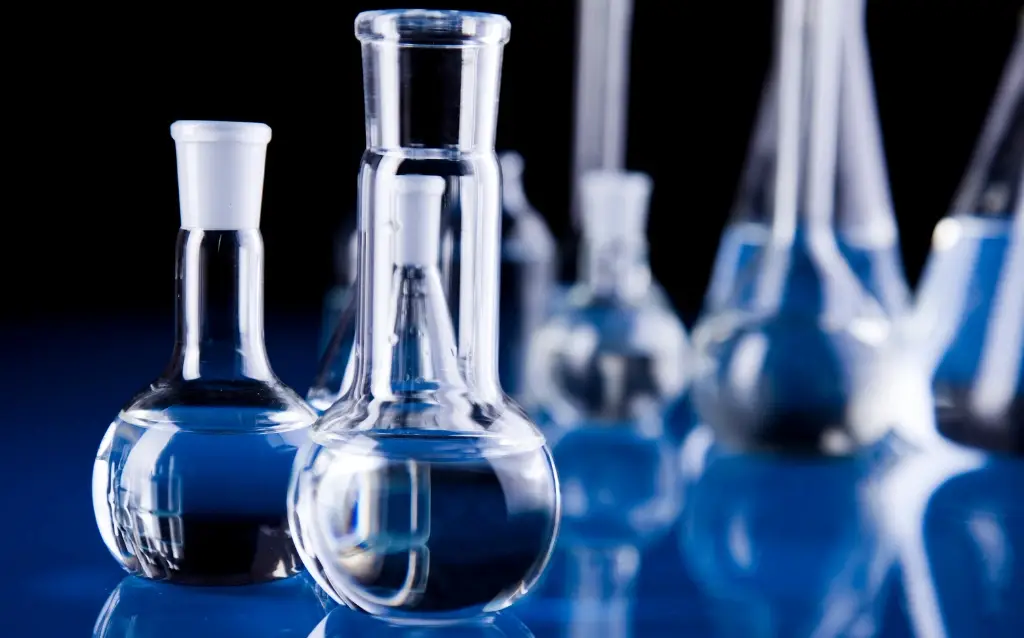
Sterilizing Glassware in the Lab: A Complete Guide
Sterilizing glassware is an essential procedure in laboratories to ensure the accuracy and reliability of experiments. Effective sterilization prevents contamination by bacteria, fungi, and chemical residues, which could otherwise interfere with the results. In addition to ensuring contamination-free results, sterilization also extends the lifespan of glassware, promoting its reusability for future experiments. This comprehensive guide explores various sterilization methods, their benefits, limitations, and critical factors to consider for effective sterilization.
Why Sterilizing Glassware Is Important
Sterilizing glassware is crucial to prevent contamination that could compromise experimental integrity. Contaminants such as microbes or chemical residues can disrupt sensitive experiments, leading to incorrect results. Glassware, being chemically inert, does not react with most substances, making it a reliable tool for laboratory procedures. However, even inert glassware requires sterilization to maintain its purity and effectiveness.
Methods of Sterilizing Glassware
There are several widely-used methods for sterilizing glassware in the laboratory. Each method has specific advantages, limitations, and appropriate applications, depending on the type of glassware and experiment. The methods discussed here include dry heat, autoclaving, boiling water, chemical sterilization, and UV light sterilization.
1. Dry Heat Sterilization
Dry heat sterilization involves exposing glassware to heated air in an oven at temperatures between 160–180°C for 1 to 2 hours. It is suitable for heat-resistant glassware, making it ideal for items that will undergo high temperatures during experiments.
2. Autoclaving (Moist Heat Sterilization)
Autoclaving uses pressurized steam at temperatures of around 121°C for 20 minutes to effectively sterilize glassware. This method is quick, efficient, and ideal for most types of glassware that are heat-resistant.
3. Boiling Water Sterilization
Boiling water sterilization is a simple method in which glassware is immersed in boiling water (100°C) for several minutes. It is an effective sterilization method for basic laboratory tasks, particularly for glassware that does not require intensive sterilization.
4. Chemical Sterilization
Chemical sterilization involves soaking glassware in chemical solutions such as ethanol, bleach, or hydrogen peroxide for a specified time. After soaking, glassware must be rinsed thoroughly with deionized water to remove any chemical residues.
5. UV Light Sterilization
UV light sterilization uses ultraviolet radiation to kill microorganisms by damaging their DNA. This method is particularly effective for surface sterilization but not suitable for deep penetration or for sterilizing through glassware.
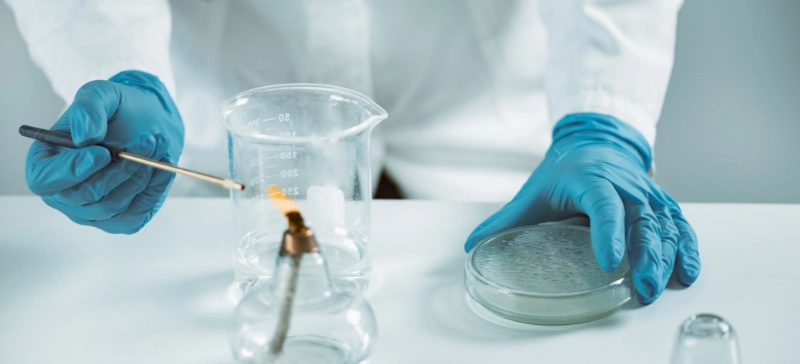
6. Sterilizing with Flame
Sterilizing with flame involves exposing small glassware like pipettes and loops to direct flame to eliminate surface contamination. It is a quick and effective method, ideal for items that require rapid sterilization.
Key Considerations for Sterilizing Glassware
When choosing a sterilization method, several factors should be considered:
Glassware Material
Ensure that the glassware is heat-resistant or chemically compatible with the chosen sterilization method. Some glassware types may not tolerate high temperatures or certain chemicals.Rinsing with Deionized Water
Always rinse glassware with deionized water after sterilization to remove any residual chemicals or contaminants.Handling and Storage
Once sterilized, handle glassware carefully to avoid re-contamination. Store glassware in a clean, dry environment to maintain its sterility.
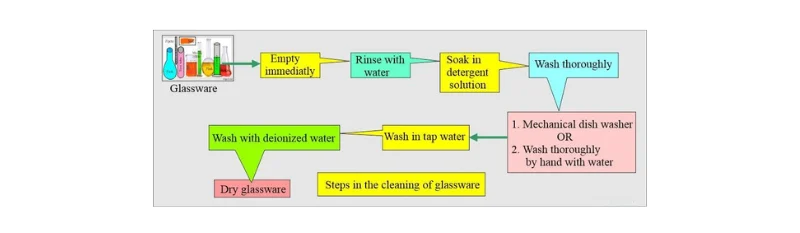
Figure 1: Steps in Cleaning Glassware. This figure illustrates the essential steps involved in properly cleaning laboratory glassware, which is a key consideration before sterilization.
Common Mistakes to Avoid When Sterilizing Glassware
Overheating Glassware
Glassware can break if exposed to excessive heat or rapid temperature changes. Ensure a gradual temperature increase to prevent thermal stress.
Improper Chemical Use
Follow recommended concentrations and exposure times for chemical sterilization to avoid damaging glassware or leaving harmful residues.
Incomplete Drying
Ensure glassware is completely dry after sterilization, as moisture can lead to microbial regrowth.
Sterilization Methods Comparison
| Sterilization Method | Temperature | Time | Ideal for | Key Considerations |
|---|---|---|---|---|
| Dry Heat | 160–180°C | 1–2 hours | Heat-resistant glassware | Requires longer exposure, risk of breakage if not monitored carefully |
| Autoclaving (Moist Heat) | 121°C | 20 minutes | Most glassware | Ideal for deep sterilization, not suitable for delicate glassware |
| Boiling Water | 100°C | Several minutes | Basic sterilization | Effective for simple tasks, requires careful handling to avoid burns |
| Chemical Sterilization | Room temperature | Variable | Heat-sensitive glassware | Suitable for chemicals that can’t withstand heat, rinse thoroughly |
| UV Light | Room temperature | 10–30 minutes | Surface sterilization | Effective only for surface sterilization, does not penetrate glassware |

Conclusion
Sterilizing glassware is vital for maintaining the integrity of laboratory experiments. The method selected should depend on the type of glassware, the requirements of the experiment, and the specific needs of the laboratory. Whether you choose dry heat, autoclaving, boiling water, chemical sterilization, or UV light sterilization, following the correct procedures ensures that glassware is free from contaminants and suitable for precise and reliable experiments.