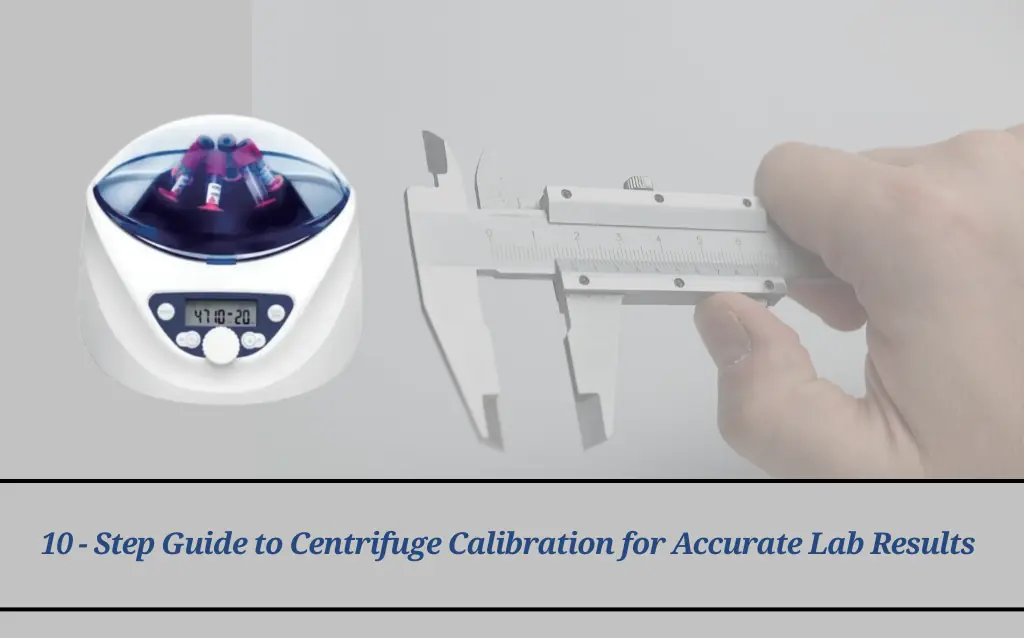
Introduction : Why Centrifuge Calibration Is Crucial
Centrifuges play a vital role in laboratories , used across clinical diagnostics , pharmaceuticals , biotechnology , and research settings for separating samples based on density . However , even the most advanced centrifuge can deliver inaccurate results without routine calibration .
Proper calibration ensures that the centrifuge functions within its designed parameters—improving accuracy , maintaining compliance with regulatory standards (such as ISO, GMP, and FDA) , and safeguarding both personnel and sample integrity . This guide outlines the importance of calibration , common challenges, and a detailed , step-by-step procedure applicable to AELAB centrifuges and other standard models .
Micro High Speed Refrigerated Centrifuge TGL-18
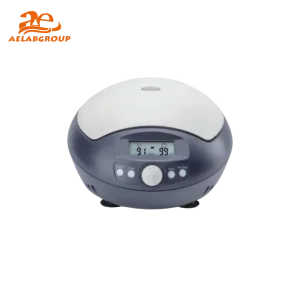
Micro High Speed centrifuge TG18
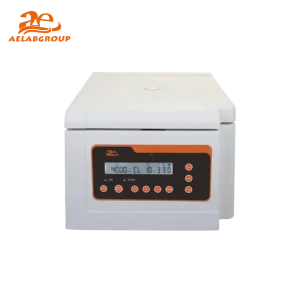
Benchtop High Speed centrifuge TG16-WS
High Speed Micro Centrifuge AE-HSC-15
Benefits of Regular Centrifuge Calibration
✅ Accuracy & Reliability
Calibration confirms that speed (RPM), time, and temperature settings are correct, ensuring experimental consistency and data integrity.
✅ Regulatory Compliance
Adhering to international standards like ISO 15189, GLP, or GMP requires documented and traceable equipment calibration, essential for audits and certifications.
✅ Operational Efficiency
A calibrated centrifuge performs optimally, reducing risk of failure, workflow disruption, or costly downtime.
✅ Sample Integrity
Sensitive samples—such as blood, DNA, or pharmaceutical compounds—can be compromised by incorrect speeds or times. Calibration preserves sample quality.
✅ Extended Equipment Lifespan
Detecting deviations early allows for preventive maintenance and avoids damage to rotors, motors, or control systems.
✅ Professional Credibility
Routine calibration communicates quality assurance and builds trust with clients, partners, and regulatory authorities.
Tools and Equipment for Calibration
- Digital tachometer or optical RPM sensor
- Certified calibration weights or reference tubes
- Stopwatch or traceable timer
- Thermometer (for temperature-controlled units)
- Spirit level
- User manual (manufacturer-specific)
- Calibration logbook or digital logging system
- Personal protective equipment (gloves, goggles, lab coat)
Step-by-Step Centrifuge Calibration Process
Step 1: Preparation and Safety
Review the centrifuge’s manual to understand its unique requirements.
Power off and unplug the unit.
Wear PPE and ensure a clean, organized work area.
Step 2: Physical Inspection
Rotor Check: Look for cracks, rust, or signs of imbalance.
Tube and Chamber Inspection: Clean and verify all components.
Step 3: Level the Centrifuge
Use a spirit level to ensure the unit sits evenly. Adjust the leveling feet if necessary. A level base is essential for accurate RPM readings and stable operation.
Step 4: Load Balancing
If applicable, use dummy tubes to create a balanced load during test runs. Unbalanced loads can affect both RPM accuracy and machine longevity.
Step 5: Speed Calibration (RPM)
Attach reflective tape to the rotor.
Use a tachometer to measure actual RPM.
Compare against the display value.
Adjust settings if the error exceeds ±2%.
📌 RCF Formula:
RCF = 1.118 × 10⁻⁵ × r × (RPM)²
(r = radius in cm)

Step 6: Timer Calibration
Set the unit to run for a fixed duration (e.g., 5 minutes).
Use a stopwatch to verify the actual run time.
Calibrate the timer if discrepancies are observed.
Step 7: Temperature Calibration (If applicable)
Insert a calibrated thermometer into the chamber.
Set a target temperature (e.g., 4°C or 37°C).
Compare the internal reading to the thermometer.
Adjust internal settings if the deviation exceeds ±2°C.
Step 8: Monitor Vibration and Noise
During test runs, check for excessive noise or vibration.
Reassess rotor balance and motor mounts if issues arise.
Step 9: Final Test Run
Step 10: Documentation and Scheduling
Log all calibration activities, including:
Date and time
Personnel name
Devices/tools used
Measured vs. set values
Adjustments made
Label the unit with the date of last and next calibration.
Establish a regular schedule (e.g., monthly for high-use units; annually for standard usage).
Common Calibration Mistakes to Avoid
❌ Skipping rotor inspections
❌ Using non-certified reference tools
❌ Ignoring the timer and temperature calibration
❌ Calibrating on an uneven surface
❌ Failing to maintain detailed records
Best Practices for Effective Centrifuge Calibration
Develop and follow a standardized calibration checklist
Train staff regularly on calibration procedures
Use traceable and certified equipment
Adopt digital systems for data storage and traceability
Foster a culture of accuracy and accountability
Hematocrit Centrifuge AE-HC-12
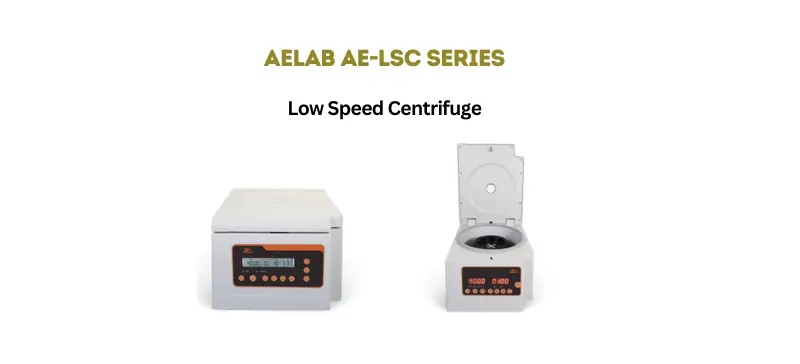
Low Speed PRP Centrifuge AE-LSC-5 Series
Low Speed Centrifuge AE-LSC-4C Series
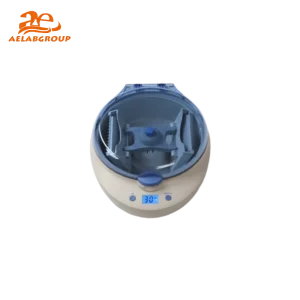
Mini-Plate Centrifuge MPC-22
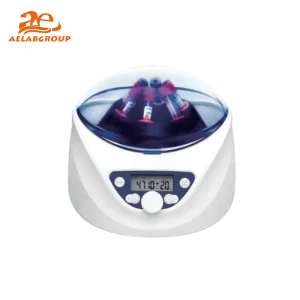
High Speed Mini Centrifuge D2012 Plus
Conclusion
Centrifuge calibration is more than a maintenance task—it’s a foundational practice that protects sample integrity, ensures compliance, and sustains lab performance. By following a structured calibration routine and using proper tools and documentation, laboratories can safeguard their scientific processes and deliver trustworthy, reproducible results.
Whether using an AELAB centrifuge or another model, a proactive calibration program ensures long-term equipment reliability and operational excellence.


")
")